Product photography4 steps
Product photography reference checklist for AI shoots
The short answer
A useful AI product photography brief starts with clear reference images of one product, the outputs you need, an aesthetic, and written acceptance criteria. In Induce Product Shoot, upload 1–8 photos of that product, choose Fashion or Goods, add a model when relevant, select the available outputs and aesthetic, then review the credit estimate before generating. Check each result against the references before using it on a product detail page or in a campaign.
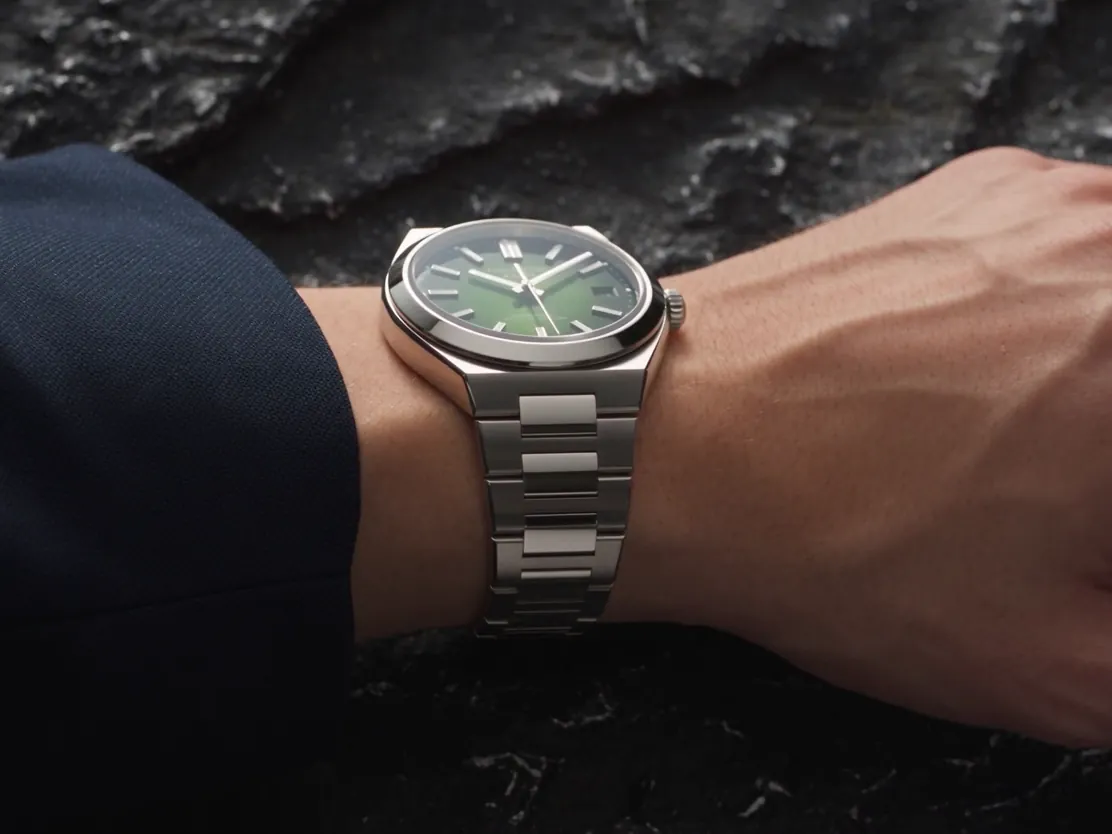
One product.
A brief your team can review.
Keep the source, creative direction, and approval criteria together for each product.
Show the actual item
1–8 clear photos of one product
Set the direction
- Fashion or Goods
- Model, when relevant
- Available outputs + aesthetic
- Channel + acceptance criteria
Check the estimate before generating.
Record the decision
- AcceptedMeets the written requirement
- ReviseA specific detail needs work
- UnverifiedEvidence is missing or unclear
Prepare the next product shoot
Step 01 Product
Build a reference set for one product
Choose 1–8 clear photos of the same item and variant. Cover the front, back, side, and details that distinguish it: seams, sole shape, fastenings, labels, or packaging. Use even light and enough resolution to inspect those details. Include the whole product as well as useful close views. Keep color variants in separate briefs so the intended color is unambiguous.
You leave with One product, one variant, a clear reference set
Step 02 Direction
Choose the model, outputs, and aesthetic
Choose Fashion or Goods to match the product. For an on-model fashion shoot, select an available model or upload a suitable model reference. Select the output options available in the app and an aesthetic that suits the brief. Keep the source product photos separate from mood references: a dramatic lighting reference should not redefine the item’s construction, color, or artwork. Record the intended crop, background, and placement for each deliverable.
You leave with An output list with a defined visual direction
Step 03 Estimate
Agree on acceptance before generating
Name the reviewer and write specific checks before spending credits. A sneaker brief might require the correct sole profile, lace layout, panel shapes, and visible mark. A packaged-goods brief might require the correct cap, label layout, and readable artwork. Save the estimated credits shown for the selected configuration. For catalog teams, use the same brief structure for each product while keeping its references and decisions separate.
You leave with A review rubric and the displayed credit estimate
Step 04 Review
Review the result against the actual item
Compare output and reference side by side at a useful zoom. Check geometry, material, color, and branding before judging lighting or composition. Record accepted, revise, or unverified for each requirement and add a reason. For video, inspect motion and the points where hands, reflections, or occlusion reveal new product surfaces. Sampled frames only establish what those frames show. Record actual spend, review time, and the final delivery decision.
You leave with An approved asset or a specific revision decision
What to check before a product image goes live
| Check | Evidence to record |
|---|---|
| Shape and construction | Compare silhouette, proportions, seams, openings, fastenings, and component count with the product reference images. Note any surface the source does not show. |
| Material and color | Inspect texture, finish, transparency, and the intended color variant. Lighting can alter appearance. Do not treat a generated image as a calibrated color reference. |
| Logo, label, and artwork | Compare placement, spelling, symbols, and packaging details at full size. Mark obscured or unreadable content unverified. A plausible-looking label is insufficient evidence. |
| Model and product interaction | Check fit, scale, hands, contact points, and whether the body hides required details. Confirm that a styled accessory has not become part of the item being sold. |
| PDP and channel requirements | Record required dimensions, format, crop, background, and any AI disclosure or metadata requirements for the destination. Check the exported file. A campaign composition may need a different treatment from the main ecommerce listing image. |
| Video and review coverage | Log the clip version and reviewed timestamps. Inspect the complete clip for delivery where possible. Keep unreviewed frames and hidden details unverified instead of extending a sampled check to the entire video. |
What a product photography brief covers
Fill in one brief per product and variant, and keep the references, direction, delivery rules, and review decisions together.
| Section | What to record |
|---|---|
| Product | SKU or product ID, product name, variant (color, size, finish, or packaging), and Fashion or Goods category. One brief per product and variant. |
| References | 1–8 clear photos of the same item: the whole product first, then other angles, construction, material, and branding details. Record who supplied them and permission to use them. |
| Direction | Model choice (or none), selected outputs, selected aesthetic, and creative direction for lighting, background, composition, and crop. Keep mood references separate from product evidence. |
| Delivery | Destination channel, dimensions or aspect ratio, required format, background and crop rules, AI-media disclosure rules, and a link to the current destination policy. |
| Acceptance | What must be preserved: geometry and construction, material and color, logo and artwork, model fit and scale, and the clip coverage to review for video. |
| Budget | The displayed credit estimate before generation, then actual credits and any documented monetary cost. Do not assume a credit-to-currency conversion. |
| Review | Reviewer, the exact output version, an Accepted, Revise, or Unverified decision per detail with evidence, reviewed video timestamps, hidden details, and hands-on review time. |
| Decision | The delivery decision against the complete brief, with its owner and date. Unverified does not mean accepted. |
Common questions
They are source photos that show the actual product’s appearance and distinguishing details. Use multiple clear views of the same item and variant. A mood board describes the intended setting or lighting. It cannot supply reliable evidence for a product detail missing from the source photos.
Include the product and variant, reference image links, Fashion or Goods selection, optional model, selected outputs, aesthetic, intended channels, delivery requirements, reviewer, and acceptance criteria. Capture the displayed credit estimate before generation and actual cost and review time afterward. Record actual results instead of assumed savings.
Product fidelity describes how closely the output preserves the actual item: its shape, material, color, marks, and construction. References and a precise brief support that goal, but they do not guarantee it. Approve only the details your reviewer can verify. Use unverified when evidence is missing or ambiguous.
Check each destination separately. A product detail page may use a mix of clear product views and lifestyle images. Google Merchant Center has specific main-image requirements, including accurate product representation and restrictions on promotional overlays, and requires AI-generated image metadata. Verify the current requirements and the exported file before delivery.
Start with representative products from your own catalog and create a separate brief for each. Compare accepted outputs, revision work, actual spend, and reviewer time under the same acceptance rules. Product Shoot currently starts with one product per shoot. A catalog evaluation does not imply an automated bulk SKU import or a guaranteed production rate.
Sources
- Google Merchant Center image requirementsPrimary image rules, product accuracy, and AI-generated image metadata. Check the current requirements for your destination before export.