How to Storyboard a Script: A Step-by-Step Guide
How to storyboard a script, a practical step-by-step guide to breaking a screenplay into shots and visual boards.
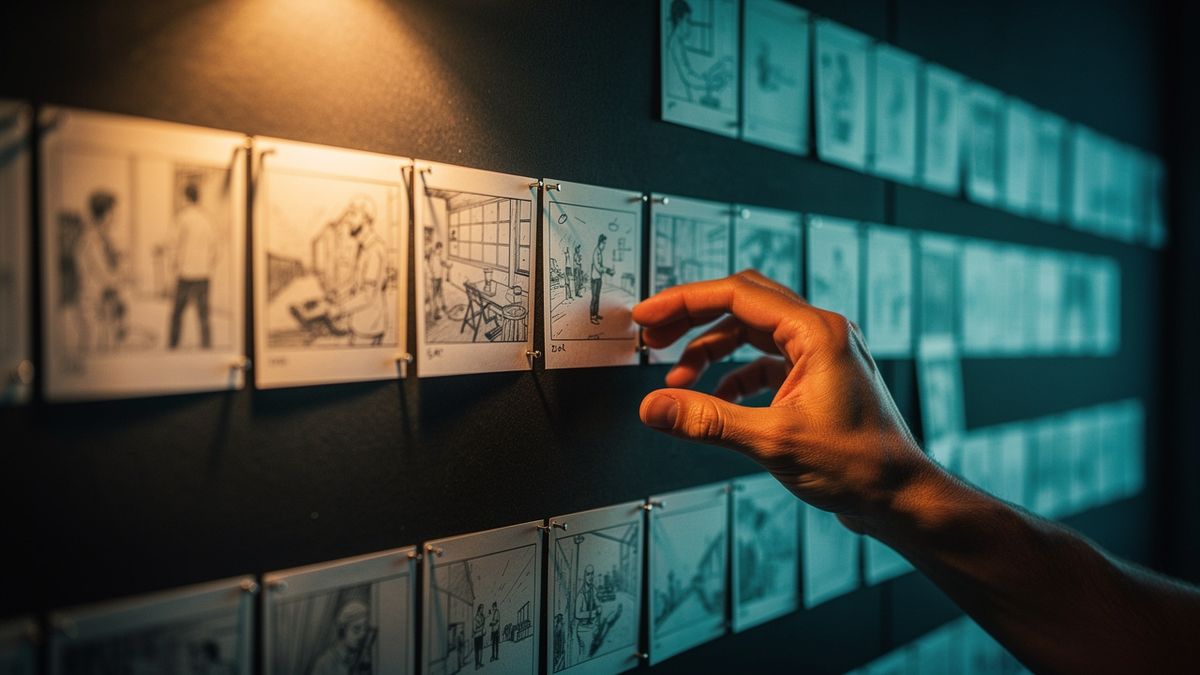
Storyboarding a script is the process of turning a written screenplay into a sequence of visual panels — one per shot — that map out how the film will actually look and cut together before a frame is captured. It's the bridge between what's written and what's shot. A good storyboard tells your crew exactly what you're trying to make; a bad one leaves everyone guessing on set.
This guide walks through how to storyboard a script, step by step, from the first read through to a complete shot-by-shot board.
What a storyboard actually is
A storyboard is a visual plan — a sequence of drawn or generated panels, each representing one shot in a scene, arranged in order to show how the film will cut together. Each panel typically includes a rough image of the composition, a note on the camera angle and movement, and often a line of dialogue or action that the shot covers.
A storyboard is not a mood board and not concept art. It's a production document. Its job is to show, specifically, what the camera sees in each shot, in what order, so that everyone making the film — director, DP, editor, client — is working from the same visual plan.
Step 1: Read the script as a director, not a reader
Before you break a single scene, read the whole script through without stopping to plan. You're looking for the story's shape: the big turning points, the emotional high points, the scenes that need to land for everything else to make sense. A storyboard made without this reading ends up treating every scene equally — but a film isn't equal; some moments need more coverage, more deliberate framing, more visual weight.
Mark the scenes that matter most. These will get the most careful boarding later.
Step 2: Break the script into scenes
Go through the script and list every scene: the location, whether it's interior or exterior, the time of day, the characters present, and the scene's single most important purpose — what has to happen here for the story to work.
This gives you the map of the film before you board any of it. You'll see which scenes are simple (two people talking, one setup) and which are complex (action, crowd, intercutting). Complexity determines how many panels a scene needs.
Step 3: Break each scene into shots
This is the core skill of storyboarding. Within each scene, you're asking: what are the distinct shots that cover this scene's action and dialogue?
A scene with two characters talking typically needs at minimum: an establishing shot showing both in the space, and coverage of each character — over-the-shoulder or single shots for the dialogue. A more complex scene might need an establishing wide, a moving shot to follow action, close-ups for reaction, and insert shots for objects.
Think about what the audience needs to see, and when. The establishing shot orients them; the close-up makes them feel. Order matters: the cut from wide to close is a different experience from close to wide.
Step 4: Sketch or generate each panel
For each shot, create a panel. Traditionally this is a rough sketch — it doesn't need to be polished art; it needs to be clear. What is the camera seeing? Where are the characters positioned? What's the framing — wide, medium, close? Is the camera moving?
Note on each panel: the shot type (establishing, two-shot, close-up), any camera movement (push in, track left, static), and the relevant line of dialogue or action.
If you're using an AI storyboard generator, this step is where the tool does the visual work — generating a panel per shot from the shot breakdown, with characters held consistent across panels.
Step 5: Keep characters consistent across the board
This is the hardest part of storyboarding, and the most important. Your protagonist has to look like your protagonist in panel 3 and panel 47. Wardrobe has to match the scene — if they're wearing a coat in the rain scene, they're wearing that coat. If there's been a time jump, appearance should reflect it.
In hand-drawn storyboards, this discipline is the artist's job: keeping reference sketches of each character and checking against them for every panel. In AI-generated boards, a tool with a continuity graph holds this automatically — every panel generates from the same character reference, not a fresh roll.
Step 6: Review the board as a cut
Once you have panels for every scene, lay them out in order and read through them as if you're watching the film. You're looking for: missing shots (you'll feel it when a cut doesn't work), redundant shots (you have three establishing shots of the same location), and pacing (too many close-ups without a release to wide, or vice versa).
A storyboard review is a free editing session. Fix it now on paper — or panels — before it costs a shoot day.
Step 7: Share, align, and lock
A storyboard's value multiplies when the whole team reads it. Walk through it with your DP so they understand your coverage plan. Share it with a client so they can see the film rather than imagine it from a script. Use it in pre-shoot briefings to align crew on the shots.
Lock the board before the shoot. Boards that keep changing become a source of confusion rather than clarity.
How AI changes the workflow
The steps above are unchanged by AI — the thinking is the same. What changes is the speed and cost of the visual work. An AI storyboard generator, especially one that reads a full script, can collapse steps 3, 4, and 5 dramatically: it breaks the script into shots, generates a panel per shot, and holds characters consistent across the board without reference-image management. The director's judgment — which scenes need coverage, what the shots are trying to do — stays yours. The execution is faster.
Induce takes this further: the same script breakdown that produces the storyboard feeds directly into shot generation, so your storyboard and your film come from a single source of truth. What you board is what you generate — no re-planning between previz and production
How do you storyboard a script?
+Read the script as a director to understand its shape, break it into scenes, identify the shots within each scene, sketch or generate a panel per shot, review the board as a cut, and align your team before the shoot.
How many shots does a scene need?
+It depends on the scene's complexity and emotional weight. A simple dialogue scene might need three to five shots; an action or key dramatic scene might need ten or more. Coverage is about what the audience needs to see, not a fixed number.
Do storyboards need to be detailed drawings?
+No. A rough sketch that clearly shows composition and framing is a usable storyboard. The goal is communication, not illustration.
Can AI generate a storyboard from a script?
+Yes. Script-first AI tools can break a screenplay into shots and generate panels, keeping characters consistent across the board. The creative decisions — what shots to make, what each scene is trying to do — still come from the director.
What's the difference between a storyboard and a shot list?
+A shot list is a written inventory of shots; a storyboard is a visual representation. Both cover the same ground, but the storyboard shows the composition, which is more useful for aligning a crew visually.