AI filmmaking8 min read
How to Make an AI Short Film: A Step-by-Step Workflow
A seven-step workflow for making an AI short film, from a two-page script to a finished cut, with the mistakes that cost the most time.
To make an AI short film, write a short script first, break it into a shot list, fix how your characters and locations look, generate one still per shot, turn the approved stills into video clips, then edit the clips with sound. The order matters more than the tool. Films that skip the script or the stills usually stall at the edit, with a folder of good-looking clips that do not cut together.
This guide walks through that workflow for a film of one to three minutes. It assumes no crew and no camera, only a story you want to tell and a few evenings.
What an AI short film is, and what it is not
An AI short film is a narrative film whose shots are generated by image and video models instead of being photographed. The writing, the directing and the editing are still done by a person.
That last part is where most first attempts go wrong. A video model produces a clip of a few seconds from a description. It has no idea what happened in the clip before, who the character is, or where the scene is going. A film is the opposite: dozens of shots that depend on each other. Your job as the filmmaker is to carry everything the model forgets, which is why the workflow below spends four of its seven steps before any video is generated.
What you need before you start
| You need | Why it matters | How much |
|---|---|---|
| A story with one idea | Short films work on a single turn, not a plot | One sentence you can say aloud |
| A script | It is the plan every later step is checked against | One to three pages |
| Reference images | They hold faces, clothes and places steady | One per character, one per location |
| A tool that keeps shots together | Otherwise you track continuity by hand | See step 3 |
| An editor | The final cut, sound and music happen here | Any editor you already know |
| Time | Review takes longer than generation | Two to five evenings for a first film |
Step 1: Write a script of one to three pages
Start with the page, not the prompt. A rule of thumb from screenwriting is that one page plays for about one minute, so a three-minute film is three pages at most.
Keep the first film small on purpose:
- One or two characters. Every extra face is another thing to keep consistent.
- One or two locations. A kitchen at dawn is easier to hold than a chase across a city.
- Little dialogue. Performance and lip movement are the hardest things to get right, so let the images carry the story.
- One change. Something is different at the end: a door is open, a letter is burned, a person has left.
Write it in ordinary screenplay form, with a scene heading, action lines and dialogue. If you have never done that, our collection of screenplay examples shows the format, and a plain text file works too.
Step 2: Break the script into a shot list
A shot list turns each scene into the individual shots you would film. For every shot, write down four things: the shot size, what the camera does, what happens, and what has changed since the last shot.
Here is a shot list for a ninety-second scene in which a woman finds a key her brother has hidden:
| Shot | Size and camera | What happens | What has changed |
|---|---|---|---|
| 1 | Wide, static | A kitchen at dawn. She enters and puts the kettle on | Nothing yet |
| 2 | Medium, slow push in | She notices the tin on the top shelf is turned the wrong way | Kettle is on |
| 3 | Insert, static | Her hand lifts the tin lid. A brass key inside | Tin is open |
| 4 | Close-up, static | Her face as she works out what it means | Key is in her hand |
| 5 | Medium two-shot | Her brother in the doorway. Neither speaks | Kettle is steaming |
| 6 | Insert | She closes her hand around the key | Key is hidden again |
| 7 | Wide, static | He sits. She pours two cups | Both seated, key out of sight |
The last column is the one beginners leave out, and it is the one that saves the film. A model will happily show the tin closed again in shot 5 unless you tell it otherwise. If shot lists are new to you, start with our guide to what a shot list is.
Aim for 12 to 30 shots for a film of one to three minutes. Fewer, longer shots are easier to keep consistent than many short ones.
Step 3: Lock your characters, locations and props
Before any shot is generated, decide what each recurring thing looks like and save it as a reference. This is the single step that most separates a film from a reel of unrelated clips.
For each character, settle on a face, hair, age, build and one costume. For each location, generate a single wide image that shows the whole space, sometimes called a location plate. Every shot in that location is then generated with the plate as a reference, so the window stays on the same wall.
How you store these depends on the tool:
- In a general video generator, you upload the reference images again with every generation and keep track of them yourself.
- In a script-based workflow such as Induce, characters, locations and props are saved once as elements, and every shot in the project draws on them. That is what the AI video continuity page describes.
Whichever you use, do not move on until you can generate the same character three times in three framings and recognise them each time.
Step 4: Generate a still for every shot
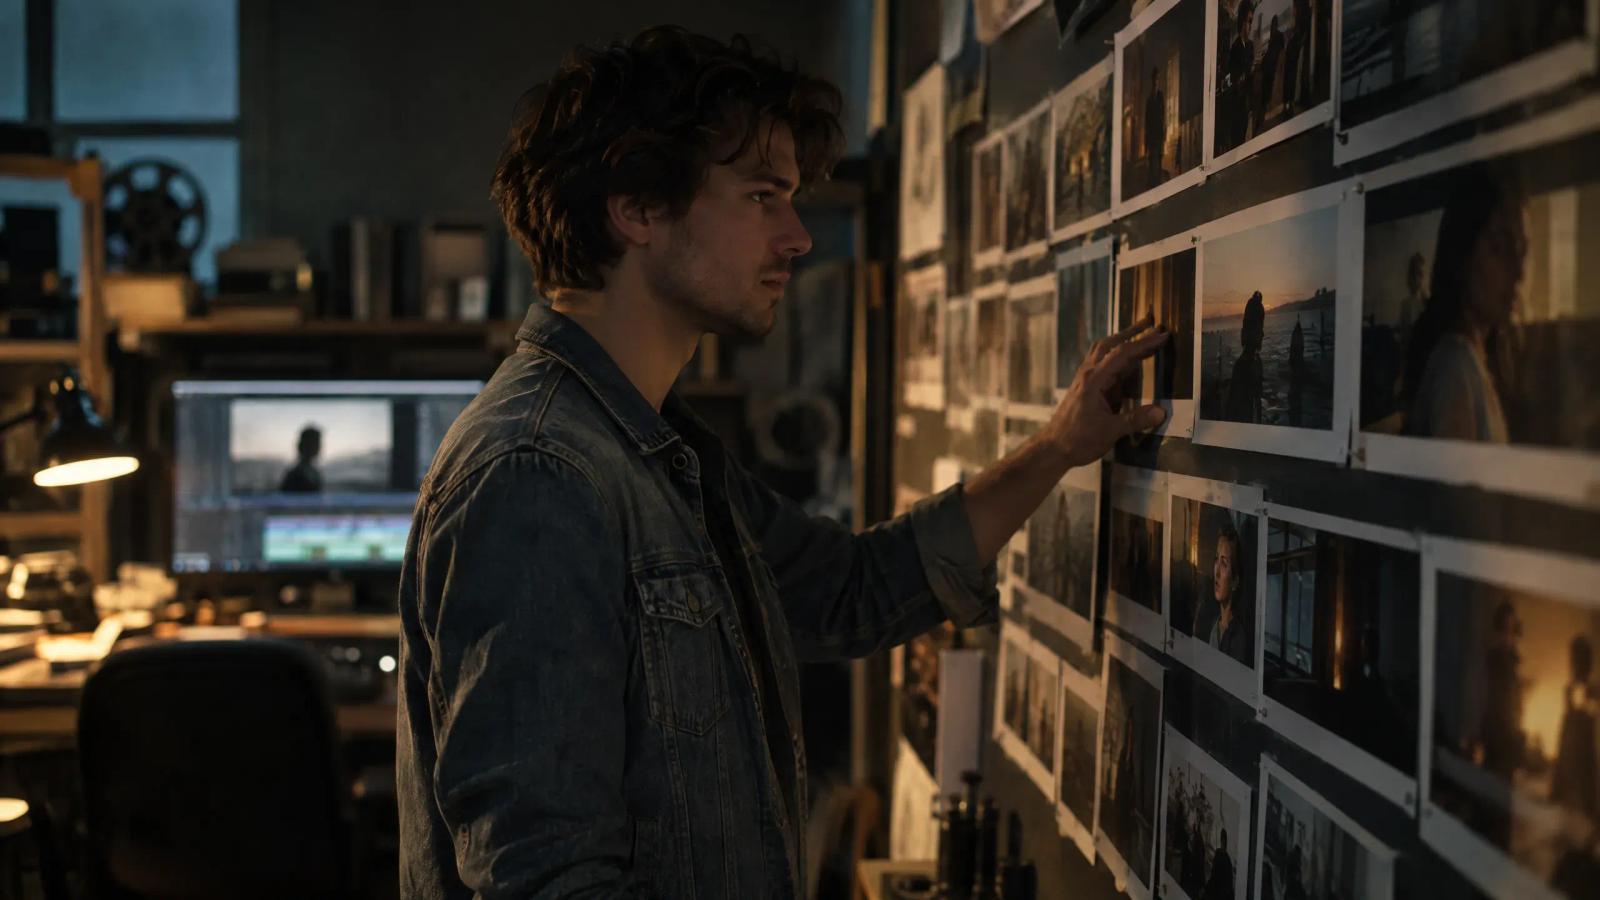
Generate one still image per shot before you generate any video. Stills are fast and cheap compared with clips, and they let you see the whole film laid out in order.
Put the stills side by side and check three things:
- Does each still match its line in the shot list? Shot size, camera position, action.
- Do neighbouring stills agree? The same clothes, the same light, the tin open where it should be open.
- Does the sequence read without the script? Show it to someone who has not read the page. If they can follow it, the film works.
Fix problems here. Regenerating a still takes seconds; regenerating a clip, then discovering it does not cut, costs far more. This stage is a storyboard in all but name, and our guide on how to storyboard a script covers the thinking behind it.
Step 5: Turn the stills into video clips
Now generate the clips, using each approved still as the opening frame. Starting from a still gives the model far less room to change the character or the room.
A few rules that hold across models:
- Describe the movement, not the picture. The still already defines what things look like. The prompt for the clip should say what moves: "she lifts the lid slowly; the camera holds".
- One action per clip. "She notices the tin, crosses the room and opens it" is three shots, and asking for all of it in one clip gives you a rushed blur.
- Keep camera moves simple. A slow push in or a static frame survives the edit. A whip pan rarely matches the next shot.
- Generate two or three takes of each shot and choose, as you would on set.
Different models suit different shots. A slow dramatic close-up and a fast action beat often look best on different generators, which is why some workflows route each shot separately. Our round-up of the best AI video generation tools covers the main options.
Step 6: Review every take against the plan
Watch each take with the shot list open and ask one question: does this show what the shot was meant to show, given everything that has happened so far?
Look for the errors that viewers notice first:
- a prop that has changed state, colour or hand
- clothing or hair that differs from the previous shot
- light coming from a different direction
- a character on the wrong side of the frame, so the eyelines no longer match
- hands and faces that distort during movement
Reject without mercy. A take that is beautiful but wrong will cost you the scene. In Induce, each take in Story mode is reviewed and given a short verdict, and a take that misses the plan is marked so you can re-film it or knowingly accept it. If you are working by hand, a simple spreadsheet with "approved", "re-film" and a note does the same job. Our piece on why AI video breaks continuity explains where these errors come from.
Step 7: Edit, add sound and finish
Bring the approved clips into an editor and cut them in script order. Three things lift a rough assembly into a film:
- Trim hard. Most generated clips are useful for only part of their length. Cut in late and out early.
- Sound first, music second. Room tone, footsteps, a kettle, a door: ambient sound makes separate clips feel like one place. Add music after the scene already works without it.
- Grade for consistency. A single gentle colour grade across all shots hides small differences between generations.
Export in the format your platform needs: 16:9 for film festivals and YouTube, 9:16 for vertical platforms. Decide which before you generate, because cropping a wide shot to vertical throws away most of the frame.
Six mistakes that cost the most time
- Generating video before there is a script. You end up editing around clips instead of telling a story.
- Too many characters and locations. Each one multiplies the consistency work.
- Skipping stills. Problems you could have fixed in seconds are found after hours of clip generation.
- Long, complicated shots. Two simple shots that cut together beat one ambitious shot that breaks.
- Leaving sound to the end as an afterthought. Silence makes every visual flaw louder.
- Never watching the whole cut. Shots that look fine alone can fail in sequence. Watch the film start to finish after every round of changes.
How this workflow looks in Induce
Induce is built around this order. In Story mode you upload a script (PDF, Final Draft, Fountain, Celtx, Word or plain text) or type a brief, and it is broken into scenes and a shot list you can review. Characters, locations and props are saved as elements shared by every shot. Each shot gets a still, then a clip, in 16:9 or 9:16, and each take is reviewed before the next shot depends on it. You can compare takes, re-film a shot or extend it, then download the assembled cut and finish the edit and sound in your own editor.
If you are making your first film on your own, the page for independent creators shows what that looks like, and the script-to-video workflow page covers the planning stage in detail.
FAQ
A first film of one to three minutes usually takes two to five evenings. Generation is the quick part. Most of the time goes on the script, the shot list and reviewing takes, which is also where the quality comes from.
You can write the script and the shot list for free, and several generators offer a small number of free generations. A complete film needs dozens of stills and clips plus retakes, which goes beyond free allowances on most tools. Induce runs on credits rather than a free tier.
Create a reference for the character before generating any shot, and use it for every shot they appear in. Start each video clip from an approved still, and check each new take against the previous shot before you accept it.
One to two minutes. That is 12 to 20 shots, which is enough to tell a story with a beginning, a turn and an end, and few enough that you can review every one properly.
You need a script, even a rough one. A prompt describes a single image or clip. A script describes how shots relate to each other, and that relationship is what makes a film.
Many festivals now accept films made with AI, and some have dedicated categories, but the rules differ and change often. Check each festival's current entry terms, and be ready to disclose how the film was made.